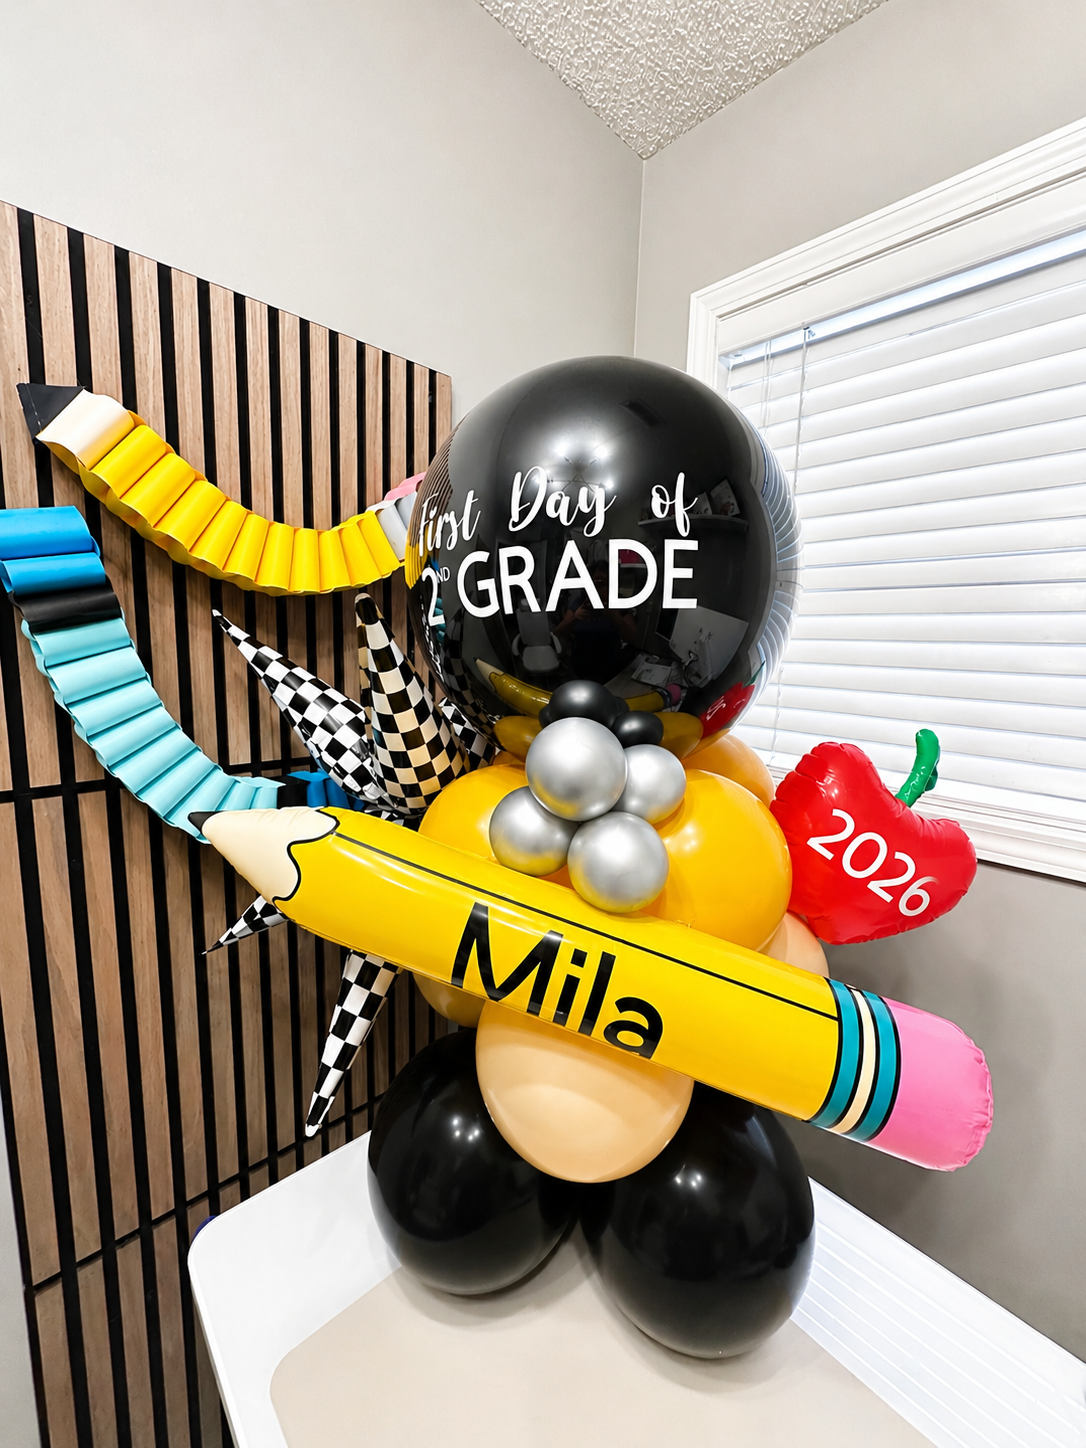
DIY FIRST DAY OF SCHOOL BALLOON STACK 🎈✏️
FREE SUPPLY LIST
Want to make your own First Day of School balloon stack? Here’s what I used, along with a few easier DIY alternatives. You do not need professional balloon equipment to make this at home. Use what you already have and keep it as simple—or as extra—as you want!
1. BALLOONS
WHAT YOU’LL NEED
• 12" latex balloons in your choice of colors
• 1 larger 18"–24" latex balloon for the topper
• Mini latex balloons for finishing clusters
For my stack, I used black, beige and yellow.
For client work, I typically use professional balloon brands, which can be a little pricier. For DIY and home events, PartyWoo is an online option I’ve personally used before.
SIZING THE BASE
I made each row slightly smaller as I worked my way up:
Bottom → approx. 8"
Middle → approx. 7"
Top → approx. 6"
Don’t stress about getting the measurements perfect! Just keep the balloons within each row roughly the same size and make each row slightly smaller than the one below it.
2. BALLOON PUMP
WHAT I USE
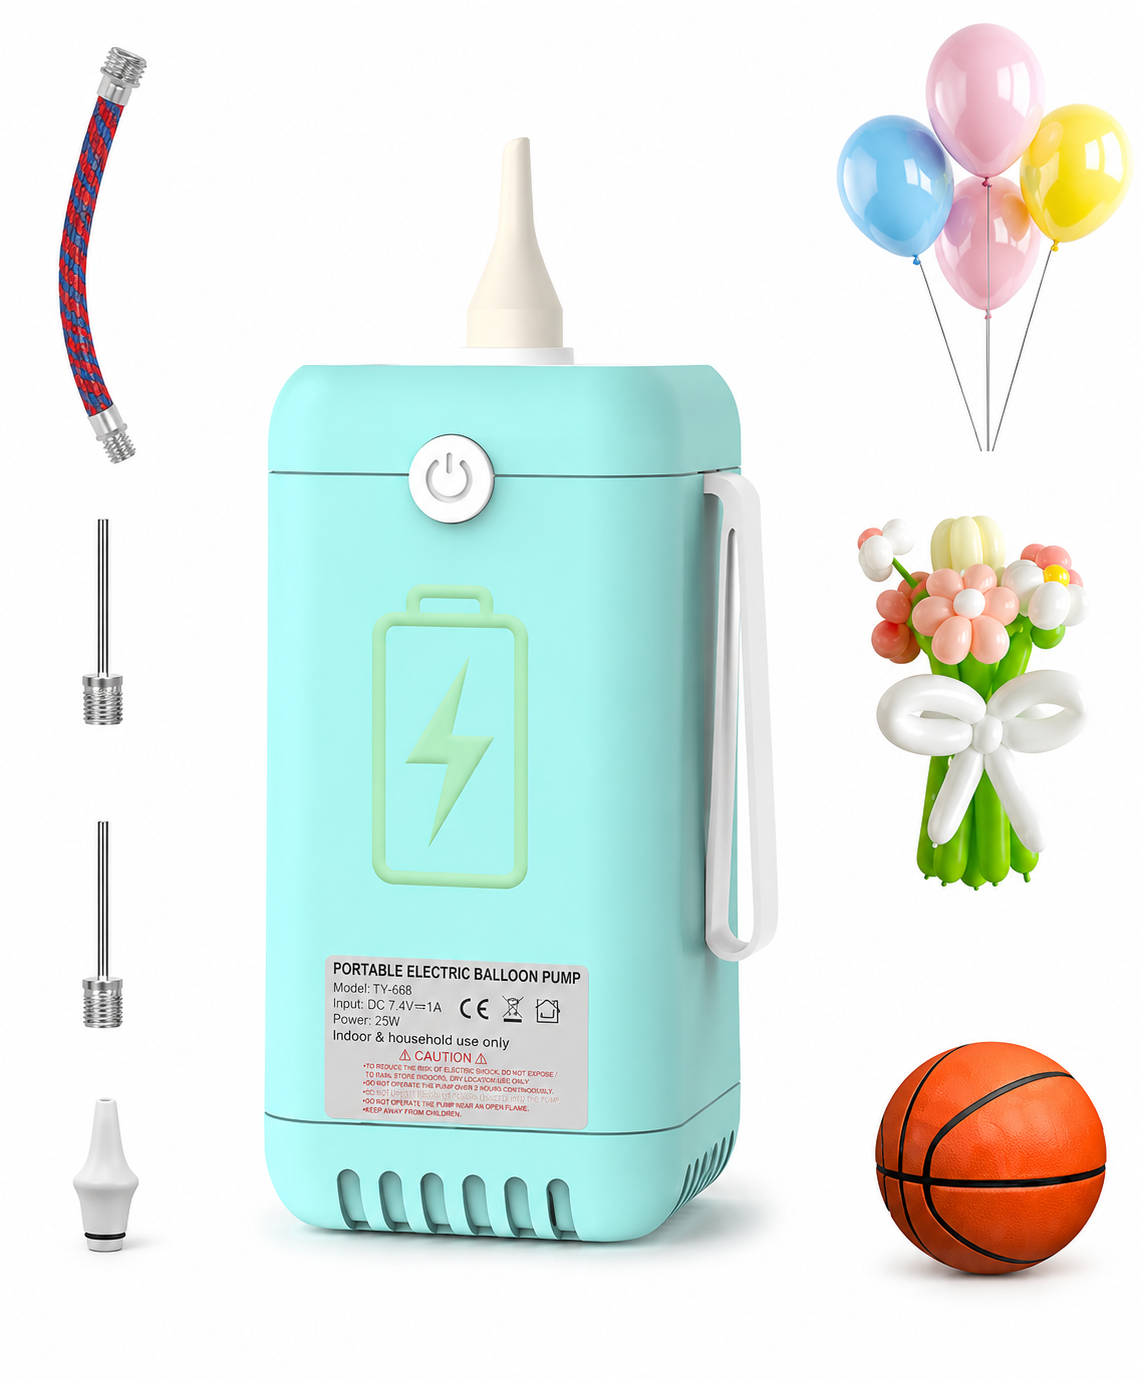
I use a rechargeable cordless electric balloon pump. I love the portability because I do a lot of balloon work.
DIY OPTIONS
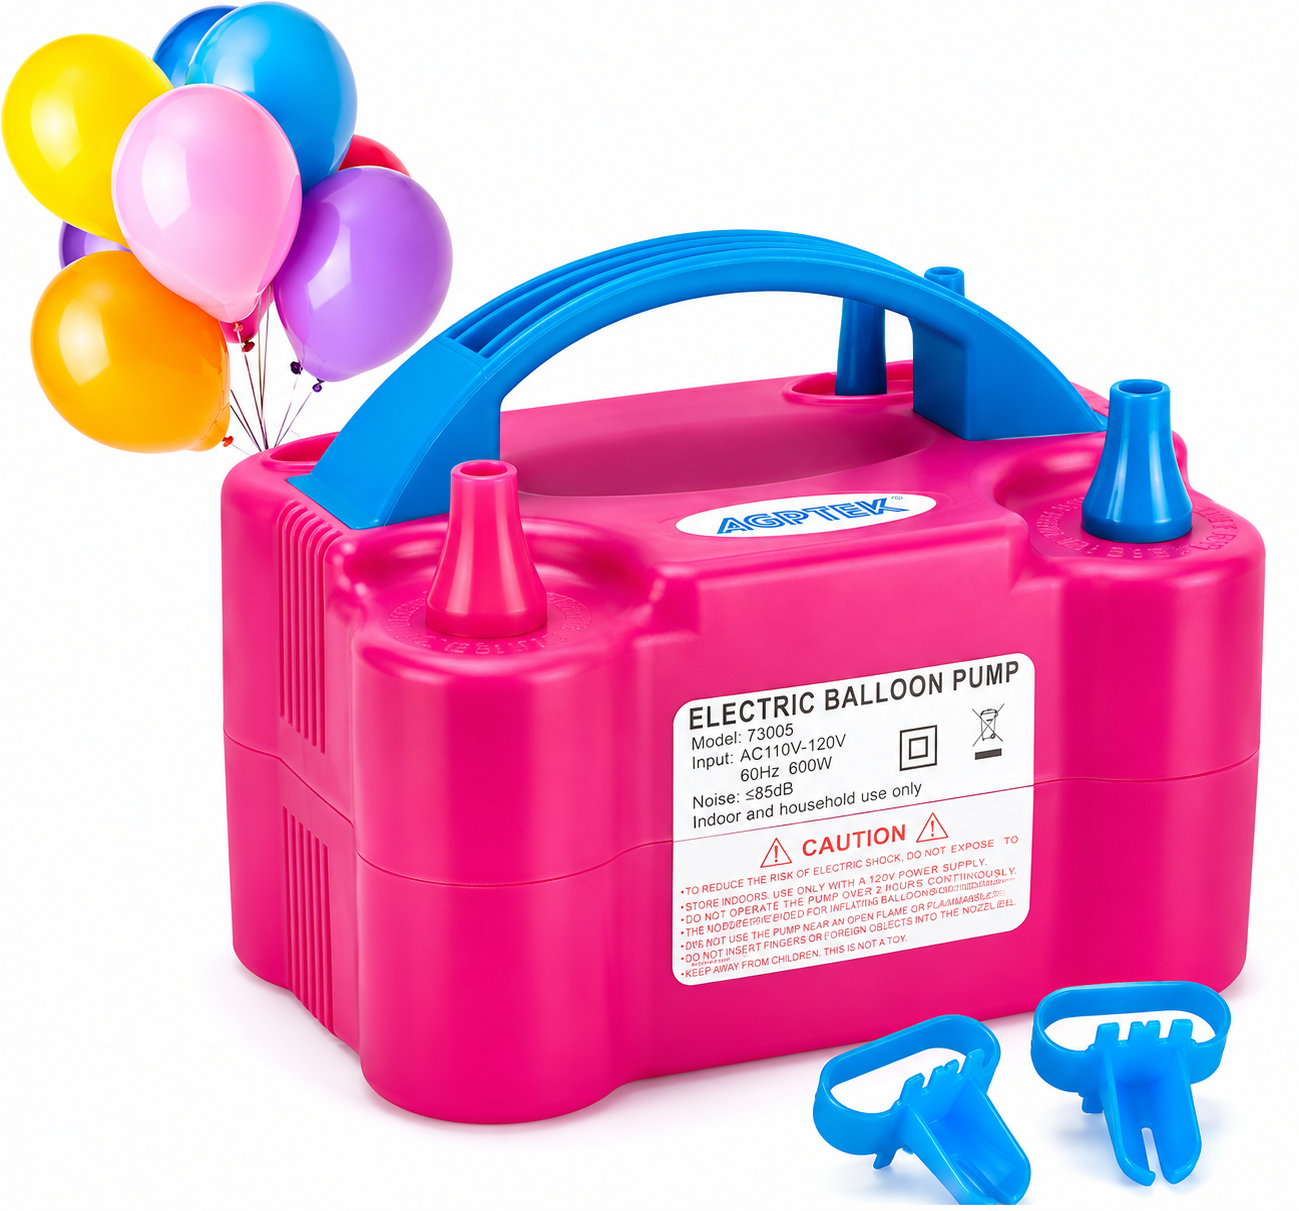
A basic plug-in electric balloon pump works great too. Only making one stack? A manual hand pump works too!
There’s no need to invest in professional equipment for one DIY project. Use what you already have or what fits your budget.
3. BALLOON SIZER
OPTIONAL, BUT HELPFUL!
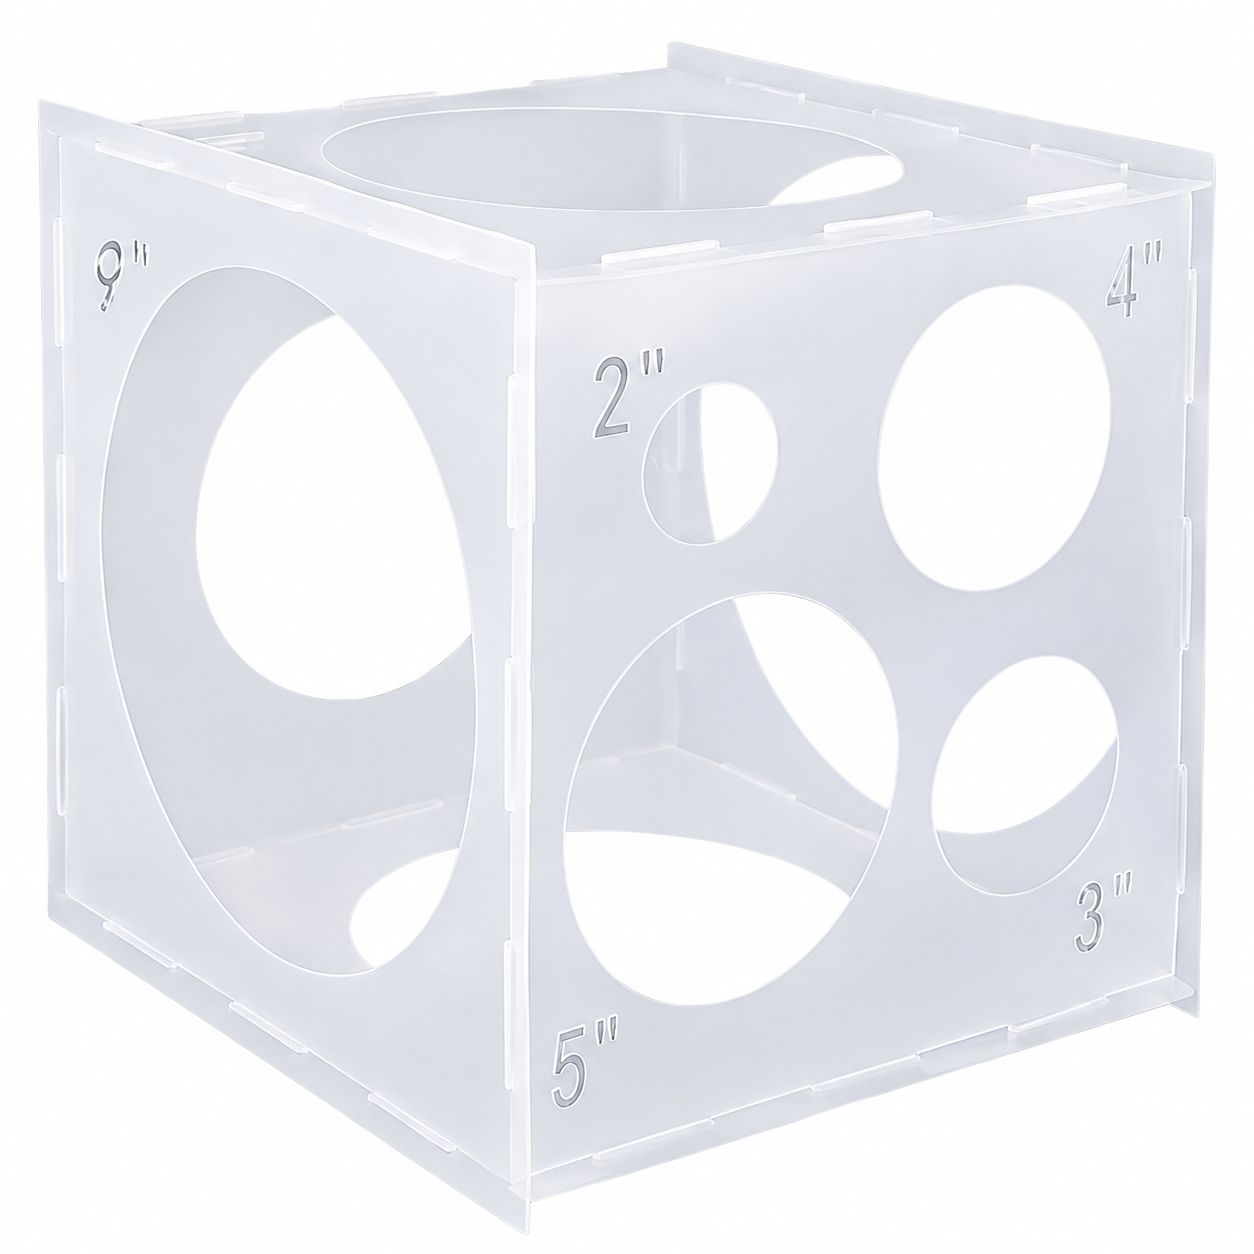
A balloon sizer makes it easier to keep the balloons within each row consistent.
For this stack, I used approximately:
8" → 7" → 6"
No balloon sizer?
Eyeball it! 🙌
It doesn’t have to be perfect. The goal is simply for each row to get a little smaller as you work your way up.
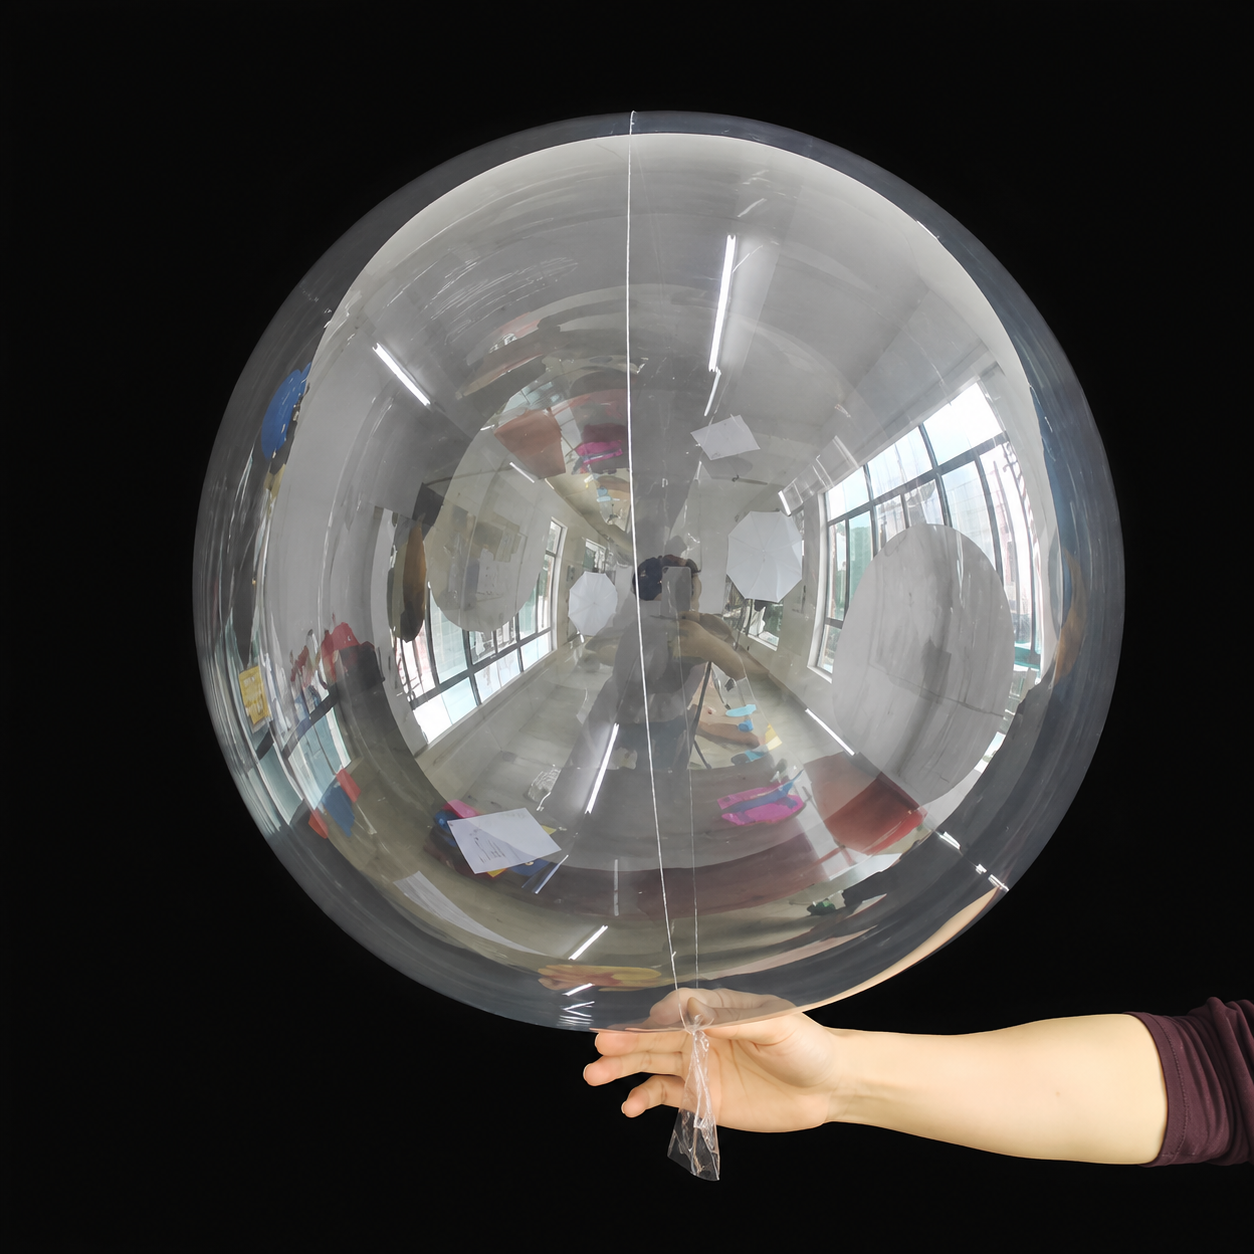
4. CLEAR BOBO BALLOON
OPTIONAL
I placed my large latex topper inside a 24" clear Bobo balloon. You can completely skip this step.
I personally like using one because it gives the latex balloon some added protection and I find the surface a little easier to work with when applying vinyl.
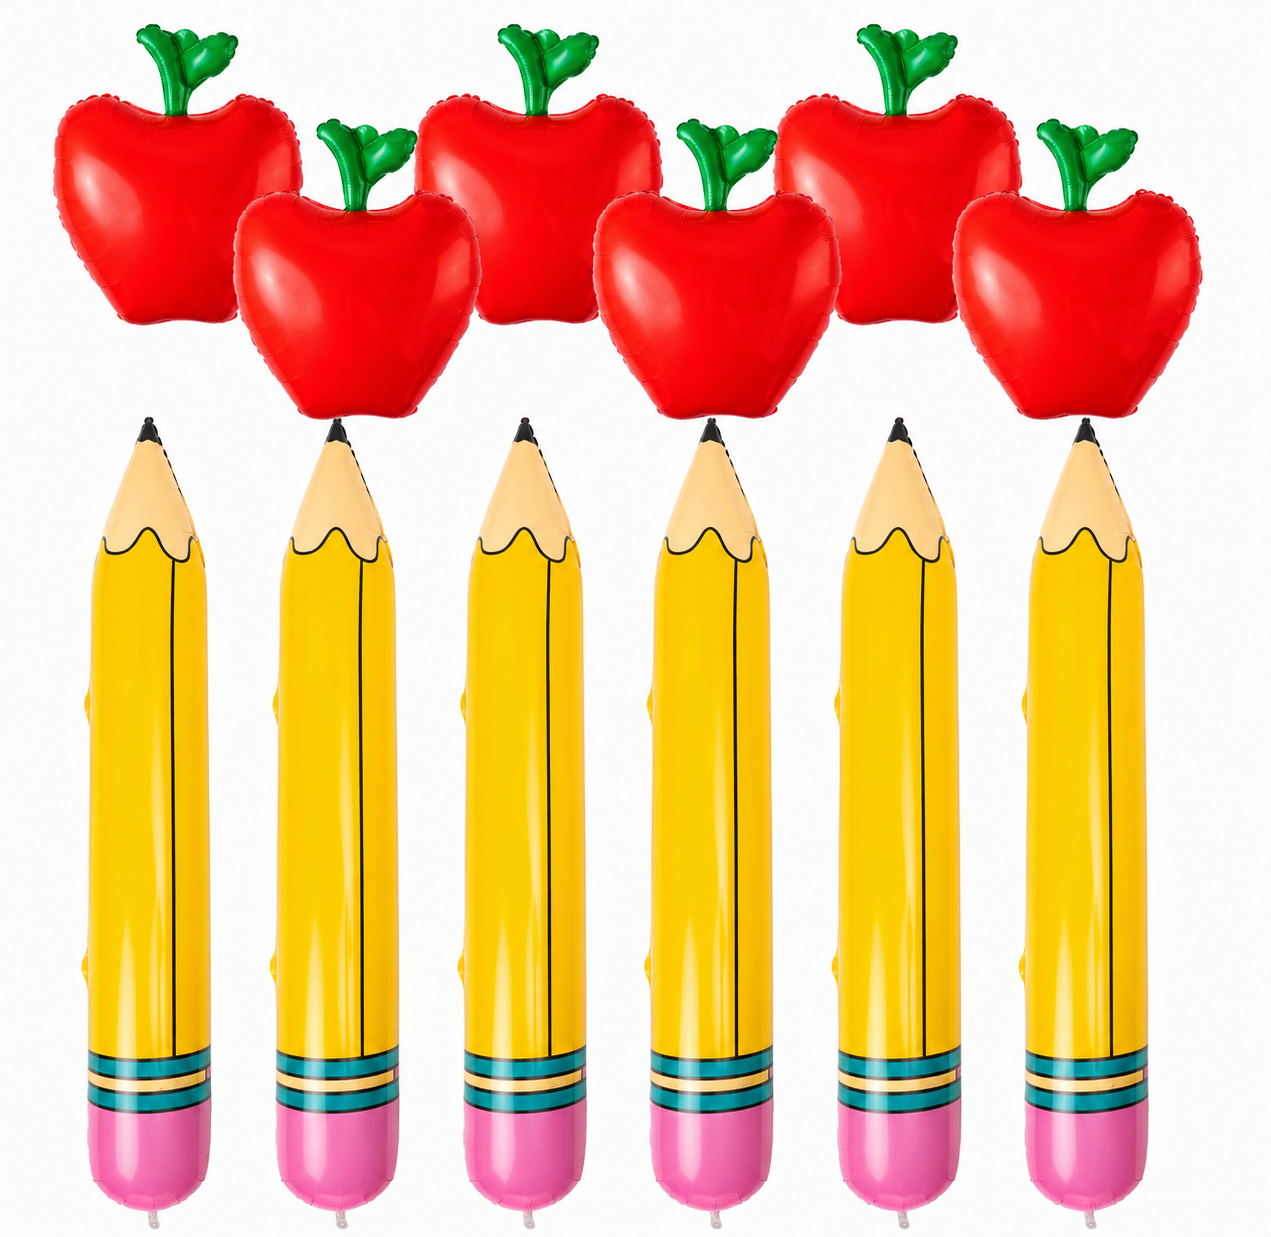
5. PENCIL + APPLE INFLATABLES ✏️🍎
These are what really give the stack that fun Back-to-School look!
I personalized mine with:
✏️ Pencil → Child’s name
🍎 Apple → School year
These are air-filled, so no helium is needed.
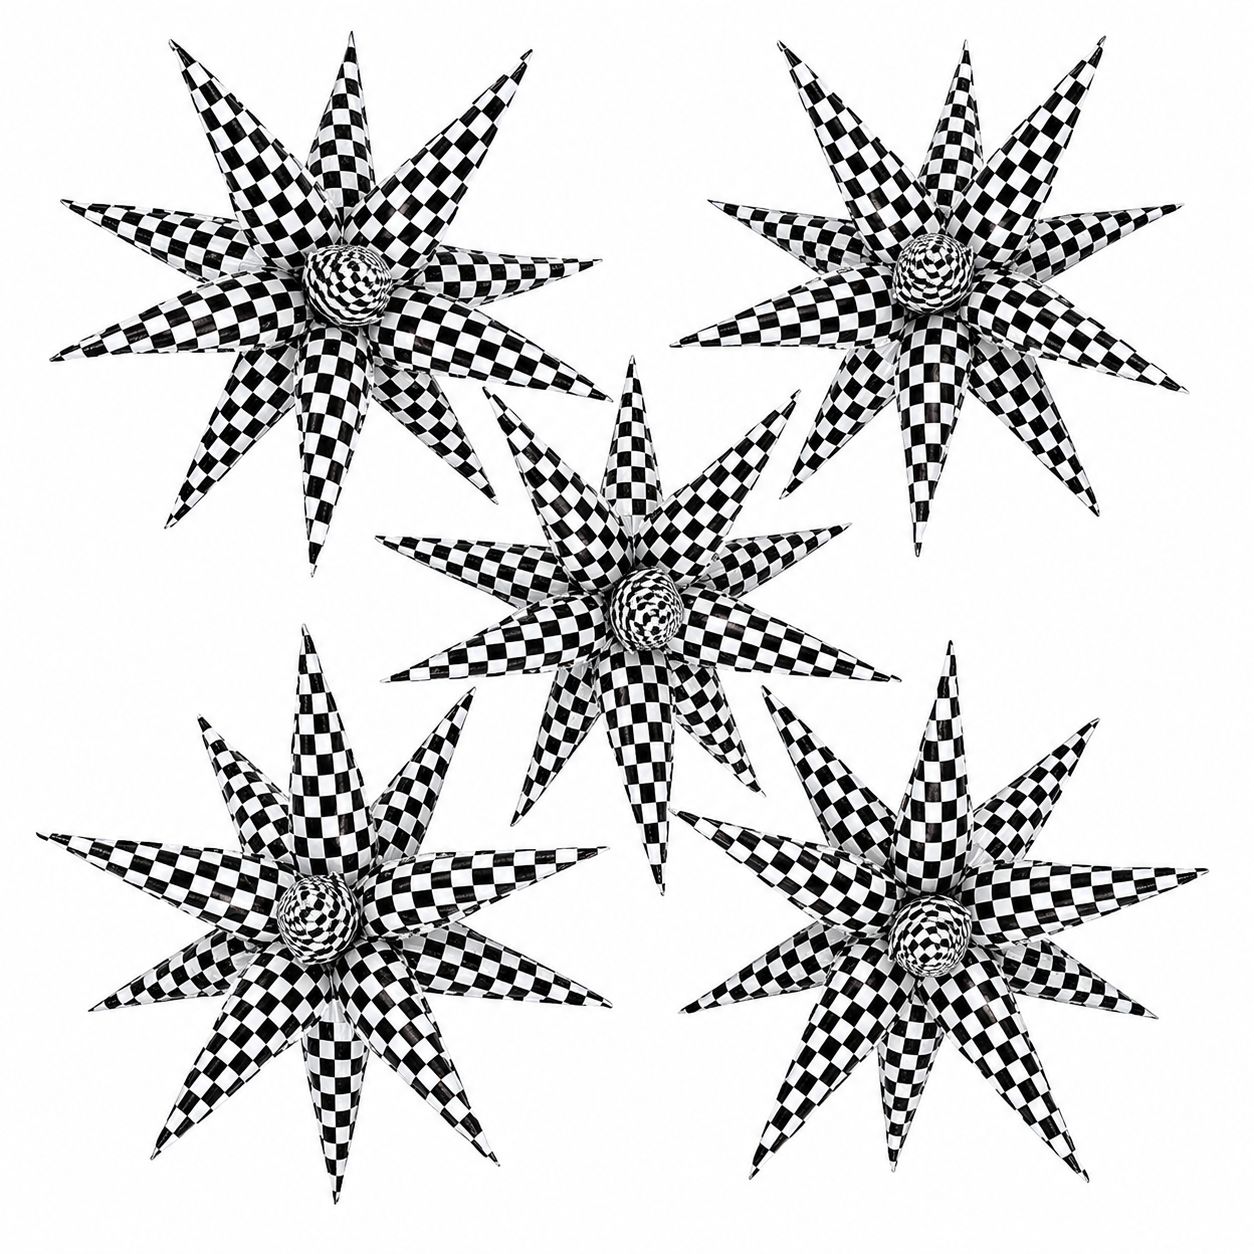
6. CHECKERED STARBURST + MINI BALLOONS
Now for the fun finishing details!
I added a black-and-white checkered starburst along with a few mini balloon clusters.
These are completely optional, so this is an easy place to change the colors or accessories to match your child’s style or your overall theme.
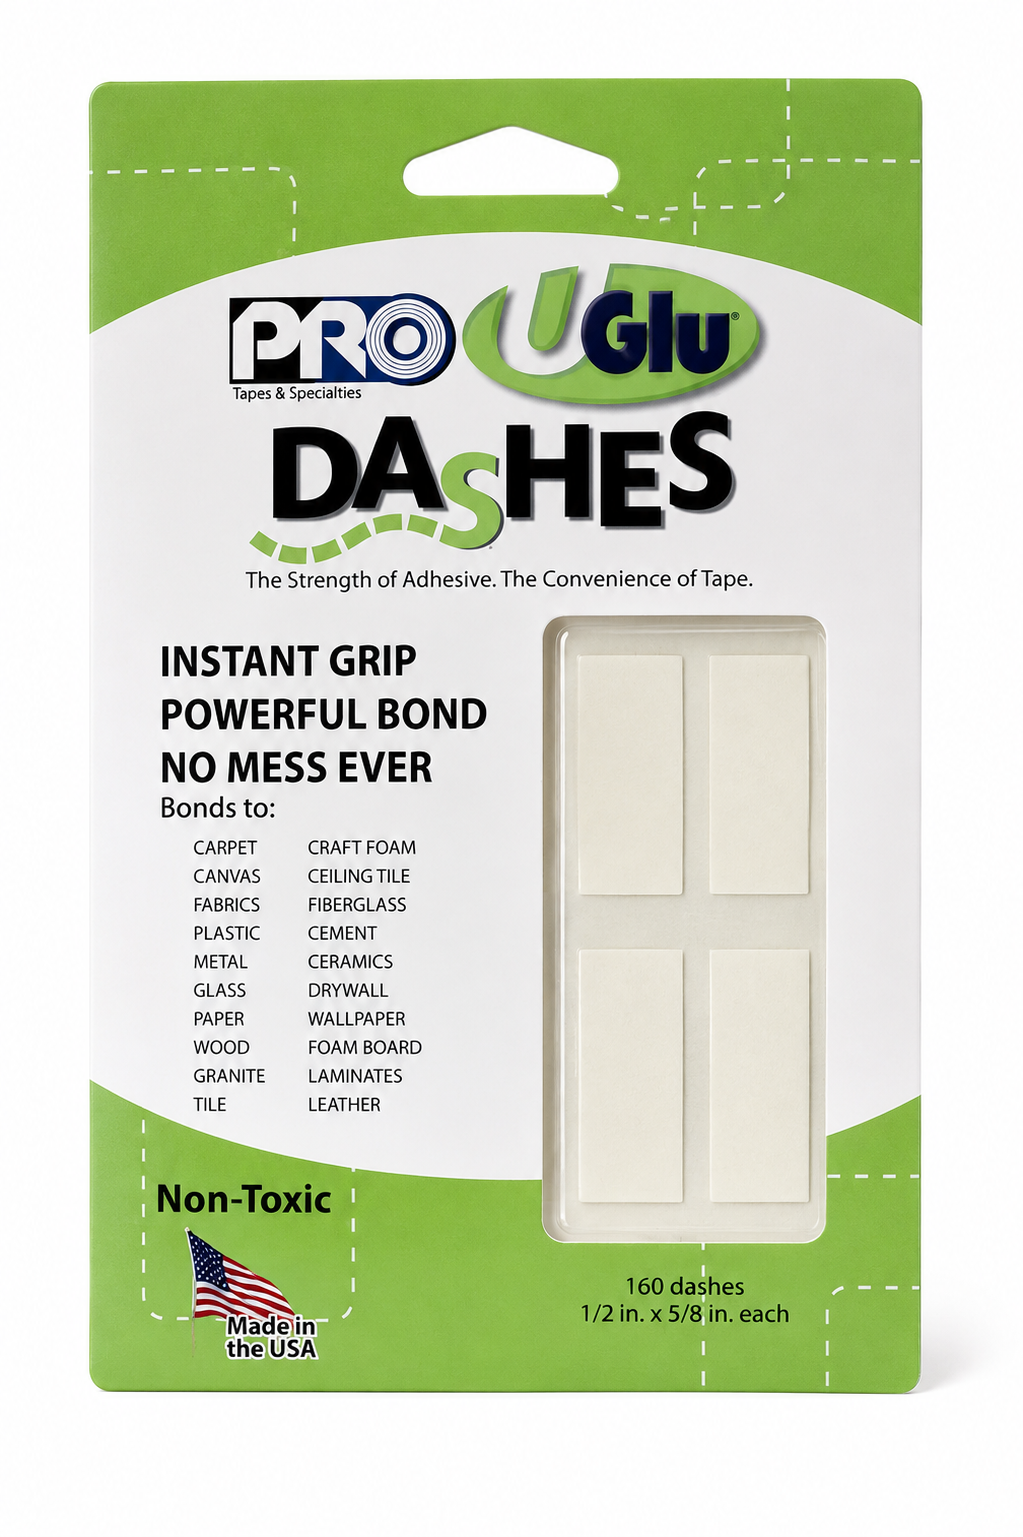
7. ADHESIVE
DIY-FRIENDLY OPTION
UGlu adhesive dashes or balloon-safe glue dots work well for attaching the pencil, apple and other lightweight details.
I also use a VERY low-temperature glue gun for certain balloon applications.
If you’re new to balloon decorating, adhesive dashes or glue dots are the easier option.
Avoid using a regular high-temperature glue gun directly on latex balloons.
8. PUTTING THE STACK TOGETHER
EASY DIY METHOD
Use rubber bands to connect your balloon rows.
This makes assembling the stack much easier if you’re new to balloons.
WHAT I DID
I tied my balloons neck-to-neck because I prefer the tighter fit and find that it holds longer.
But for a DIY stack—especially one being used indoors—rubber bands are an easy and practical shortcut.
QUICK SHOPPING LIST 🛒
THE BASICS
✓ 12" latex balloons
✓ 1 large 18"–24" topper balloon
✓ Balloon pump or hand pump
✓ Rubber bands
✓ Inflatable pencil + apple
✓ Balloon-safe adhesive
OPTIONAL EXTRAS
○ Mini balloons
○ Balloon sizer
○ 24" clear Bobo balloon
○ Checkered starburst
○ Permanent vinyl
BUSY MOM TIP 🤍
Make it ahead!
One of my favorite things about this project is that the entire stack is air-filled, so you don’t have to add this to the night-before-school craziness.
Make it ahead and keep it indoors in a climate-controlled area away from direct sunlight and excessive heat.
I love a good DIY, but as a busy mom myself, I also appreciate those times when I want something cute without having the time—or desire—to make it.
DIY it when you want to. Let your local balloon artist handle it when you don’t. 🎈
We Create. You Celebrate!
POPPIN PARTY DECOR